Can You Spike a Cosplay Wig Without Heat?
What Makes Spiked Cosplay Hair Stay Up
When cosplayers ask me how to spike a cosplay wig, I give one blunt answer: the shape is locked in by cooling fiber, not by drowning it in hairspray. My first attempt collapsed within two hours because I skipped that half of the process. Get the mechanics right — tease, heat, shape, cool — and the result becomes repeatable, which is the same principle behind cosplay wig styling fundamentals in general.
Table of Content
Synthetic hair behaves like a thermoplastic. Heat softens the fiber, and whatever position it dries in is the position it keeps. That is why a steamer or a low-heat flat iron does more for a spike than a can of spray ever will: you are training the fiber, not gluing it in place. Kanekalon and most heat-resistant fibers respond well, but always test on a hidden weft first.

Why Synthetic Fiber Needs Cool Air
Cooling is the actual setting step, and it is where most people rush. Hold the spike in its final shape with your fingers, a comb, or a pin until the fiber is completely cold — usually ten to twenty seconds. Release too early and the spike springs back to its pre-heat position. On real hair, heat alone holds shape; on synthetic wigs, cool air does the work.
Humidity is the quiet enemy here. A spike set in a dry room with cold air holds far better than one shaped in a steamy bathroom right after a shower. If you live somewhere damp, plan to set your spikes the night before, then store the wig on a stand in an air-conditioned room rather than sealing it in a plastic bag while it is still warm.
Tools That Do the Heavy Lifting
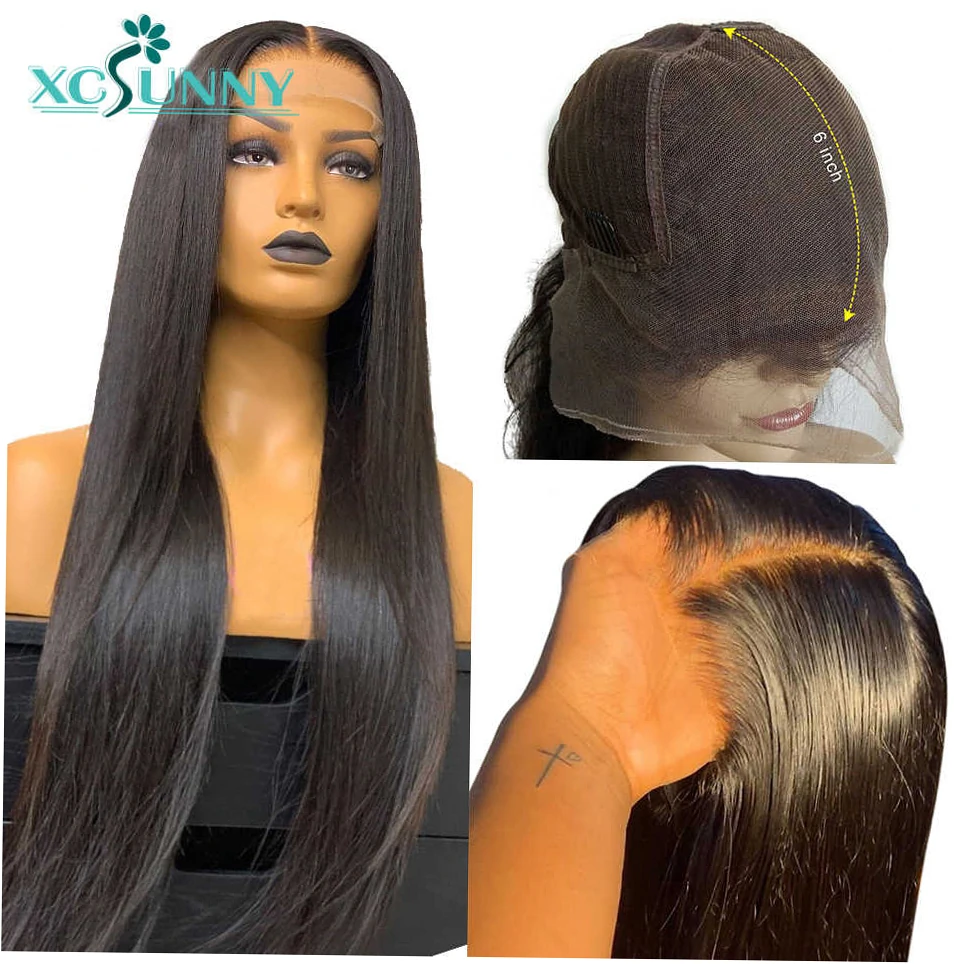
You do not need a professional studio kit, but four items carry almost all the weight. A steamer softens fiber without scorching it, a fine metal comb separates layers and backcombs cleanly, thinning shears remove bulk from spike tips, and a needle-tip flat iron creates sharp, narrow points. Everything else is optional support.
| Tool | Main job | What to look for |
|---|---|---|
| Hand steamer | Softens fiber so it can be reshaped | Fine nozzle, 10–15 cm working distance |
| Fine metal comb | Separates layers and backcombs cleanly | Metal teeth, no wide plastic spine |
| Thinning shears | Removes weight from spike tips | Sharp single-sided teeth |
| Needle-tip flat iron | Creates narrow, defined points | Adjustable low heat, beveled edge |
| Strong aerosol spray | Locks the finished shape | Fast-drying, water-soluble |
Hairspray is a finisher, not a foundation. Spray it after the shape exists and it holds the surface; spray it before and you get a stiff, sticky mass that no comb can fix. I keep one strong aerosol and one styling gel on the table, and I reach for them only in the final third of the job.
Hairspray vs Glue: Which Holds Spikes Better?
The honest answer depends on whether you want to keep the wig. Freezing spray and spiking gel are removable; craft adhesive is not. For a first spike job, or for anything you plan to restyle later, a strong aerosol plus a little spiking gel on the tips gives eighty percent of the hold with none of the regret.
Got2b Freezing Spray and Spiking Gel
Spray at roughly twenty centimeters from the spike, one light pass at a time, letting each pass dry before adding the next. Heavy single coats stay tacky and attract dust. For the last centimeter of a sharp point, a tiny amount of spiking gel applied with a fingertip gives a crisper edge than spray alone, and it washes out with warm water and shampoo.
When Craft Adhesive Crosses the Line
Craft adhesive will hold a spike through a full convention weekend, and some competition cosplayers genuinely use it. It is also essentially permanent: the glued section becomes stiff, brittle, and impossible to comb out. My rule is simple — glue the very tips of a display wig, never the fiber that sits against your neck or ears.
| Product type | Hold strength | Drying time | Washes out | Best use |
|---|---|---|---|---|
| Freezing spray | High | 20–30 seconds | Yes, warm water | Finishing whole spikes |
| Spiking gel | Medium to high | Slower, tacky | Yes | Tips and sharp edges |
| Craft adhesive | Extreme | 1–2 hours | No | Display wigs and competition tips only |
| Steam plus cool set | Structural | Instant | Not applicable | Base shape before any product |
| Crimping | None alone | Instant | Not applicable | Texture and grip for backcombing |
| Label claim | Real-world experience | Better approach |
|---|---|---|
| Extra-strong hold all day | Shape survives but turns crunchy and stiff by hour four, then brushes out into white flakes | Light passes plus a proper cooling set |
| Fully reversible, washes out | True for spray; glue-reinforced tips stay fused and cannot be combed | Keep adhesive away from wearable sections |
| Spray on dry hair for instant volume | Volume collapses within minutes without internal teasing | Backcomb first, spray second |
| One coat is enough for spikes | Thin synthetic fiber needs two or three thin passes to hold a point | Layer spray, drying between passes |
The Crimping Shortcut Most People Skip
Crimping is the most underrated prep step for spiky wigs. Running a crimper through a section adds texture, kills the plastic shine, and gives the fiber grip so backcombing holds instead of sliding. It also reduces tangling later. You will not see crimp marks once the spike is shaped and sprayed, so do not fear the zigzag.
The trick is placement. Crimp the mid-lengths of each section, not the outer surface you plan to show, and work on small horizontal slices rather than grabbing a whole chunk. My walkthrough on crimping a cosplay wig covers heat settings, section sizes, and how to crimp without frying cheap fiber.
Why Do Wig Spikes Keep Falling Flat?
Nine times out of ten, a drooping spike is carrying too much fiber. Gravity wins against hairspray every single time, so the fix is structural rather than chemical. If your points look more like soft waves by mid-afternoon, you are probably skipping thinning, layering, or the cooling hold — not using the wrong brand of spray.
Too Much Fiber, Too Little Structure
Separate each spike into layers before you shape it, working from the bottom up, and thin the ends aggressively with thinning shears. Less fiber at the tip means less weight pulling the point down. Leave the top layer untouched so the visible surface stays smooth, then backcomb the layers underneath to build an internal scaffold.
Teasing creates a dense mat that acts like a spine inside the spike. Smooth only the outer surface back over it with a comb, and the spike looks clean while the structure underneath does the holding. Without that internal support, spray alone gives you a shell that collapses at the first gust of wind.
Heat Damage and Crunchy Tips
Repeated high heat turns synthetic fiber brittle and slightly melted at the ends, which reads as crunchiness on camera. Keep flat irons on a low setting, work in short passes, and never hold heat on one spot. If the tips already feel stiff and rough, they are usually coated in product buildup rather than truly damaged.
Buildup is also the main reason spiked wigs tangle so badly after a shoot. Tugging at those knots stretches and shreds the ends, and the damage spreads upward section by section. The gentler method is laid out in this guide to untangling cosplay wigs without snapping dry, sprayed fiber.
| Symptom | Likely cause | Fix |
|---|---|---|
| Spike droops after two hours | Too much fiber at the tip | Thin the ends, backcomb underneath |
| Crunchy, sticky tips | Over-sprayed, sprayed too close | Rinse the tips and re-set with light passes |
| Spike leans sideways | Shaped only on the wig stand | Re-steam and set while wearing it |
| White flakes on costume | Heavy spray coats flaking off | Fewer, thinner passes with drying time |
| Point looks blunt, not sharp | Blade-shaped cut instead of a tapered one | Slide scissor blades down the weft to taper |
One more trap: styling the wig only on a stand. A head form is wider and flatter than your skull, so spikes that look perfect on the mannequin can sit at the wrong angle on you. Try the wig on every few sections and check the silhouette in a mirror from the side, not just the front.
For camera work, check the wig under the light you will actually shoot in. Indoor tungsten flattens sharp edges, while bright daylight exposes every stray fiber and uneven tip. A quick phone photo from three angles tells you more than five minutes of staring in a bathroom mirror, and it saves you from discovering a lopsided spike at the venue.
Which Spike Style Fits Your Character?
Not every character needs needle-sharp points. Short anime spikes read as energetic and are the easiest to build from a layered bob; long swept points look dramatic but need a heavier base and more internal support. Matching the style to the character’s silhouette matters more than copying a tutorial frame by frame.
Short Anime Spikes vs Long Swept Points
Short spikes work best on wigs with a defined part and plenty of layers, because you can pull each section upward from the root. Long swept points depend on a heavier foundation: crimp the mid-lengths, then shape the last few centimeters into the point. Trying to build long spikes from thin, straight fiber is where most first attempts fail.
If you are recreating a specific design, the character wig styling guides break down how different silhouettes translate onto synthetic fiber, from gravity-defying shonen cuts to soft, wind-swept points. Use them as a reference library, then adapt the technique to the wig you actually own rather than buying a new base every time.
Testing Proportion on Your Own Head
Bangs and front spikes are where proportion goes wrong most often. Take the wig off the stand regularly, put it on, and check where the spikes sit relative to your eyebrows, cheekbones, and jaw. A spike that ends at the brow on the mannequin may hit mid-eye on you. Trimming a centimeter at a time is safer than one big cut.
Group cosplay adds another layer of difficulty, because two spiked wigs photographed side by side should look like they belong in the same world. Compare spike length, angle, and density with your partner before the event, and agree on a rough silhouette. Matching the overall shape matters far more than matching individual strands.
Making Spikes Survive a Full Convention Day
Convention floors are hostile to sculpted hair: heat, crowds, humidity, and a backpack strap that finds every spike. Plan for touch-ups rather than perfection. A small kit in your bag — mini freezing spray, a fine comb, a couple of bobby pins — fixes most mid-day collapse in under two minutes of bathroom-mirror work.
Packing a Touch-Up Kit
Decant spray into a travel bottle, because a full aerosol can is heavy and often not allowed in venues. Add a rat-tail comb for lifting flattened sections, a few clear elastics, and a small pot of gel for re-pointing tips. Store the kit flat in your bag so the spray does not leak onto your costume.
Taking Spikes Down Without Ruining Them
At the end of the day, resist the urge to brush the whole wig at once. Mist the spikes with water to soften the spray, comb each section out individually from tip to root, then let the wig dry on a stand. Brushing dry, sprayed fiber is what creates the frizz that makes people think a wig is worn out.
If you want the full sequence, build the look one section at a time and practise on a spare weft before you commit to the front of the wig. Practise three spikes tonight on a hidden area, let them cool completely, and see how they behave after an hour. That single test tells you more about your fiber, your heat setting, and your spray than any tutorial can.
Cosplay Wig Spikes: Real Questions, Straight Answers
Can you spike a cosplay wig without heat?
You can get a soft, textured lift with backcombing and gel alone, but sharp points need heat to set the fiber. Without a steamer or flat iron, spikes hold for a photo shoot at best and start collapsing in a warm room. Steam is the gentler option if you are nervous about a hot tool on synthetic fiber.
How long do spiked cosplay wigs actually hold their shape?
A properly thinned, cooled, and sprayed spike usually lasts a full convention day of roughly eight to ten indoor hours. Wind, humidity, and outdoor shoots cut that to three or four hours. Light spray touch-ups restore most of the shape. Glue-reinforced tips last longer but cannot be restyled afterwards, so weigh durability against flexibility.
Is glue really stronger than hairspray for anime spikes?
Yes, and that is exactly the problem. Craft adhesive gives a rigid, weatherproof tip, but it turns the fiber brittle and cannot be combed out. Spray holds about eighty percent as well and stays workable. Practise on an old wig with spray first, and only reach for adhesive once you can shape a spike you genuinely like.
Will spiking a wig ruin it for future characters?
Usually not. Spray, gel, crimping, and steam are all reversible with warm water and patient combing. What ruins a wig is heat damage from a flat iron held on one spot, or adhesive that fuses fibers together permanently. Thinning does change the cut for good, so trim conservatively and keep the offcuts in case you change your mind.
What heat setting is safe on synthetic wig fiber?
Most heat-resistant fibers tolerate a low flat-iron setting, but kanekalon and cheaper blends scorch quickly. Test on a hidden weft at the lowest setting and increase gradually. If the fiber smells sweet or turns shiny and stiff, stop immediately. Steam is always the safer route for setting spikes, and it distributes heat far more evenly.
Can you add spikes to a very short wig or a lace-front unit?
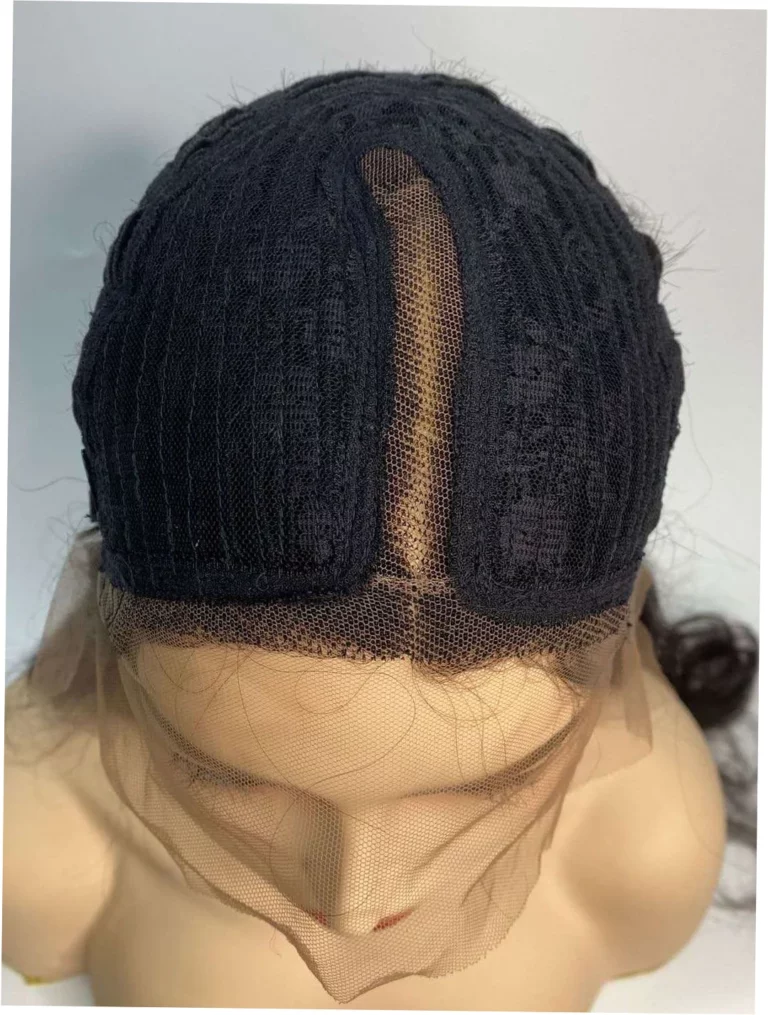
Short, layered wigs are the easiest base because the sections are already cut to lift. Lace fronts need more care around the hairline: keep product off the lace, and build front spikes from the sections behind the hairline rather than the fine hairs at the edge. Otherwise the lace stiffens and stops lying flat.
How much does a spike styling kit actually cost?
A realistic starter kit — comb, thinning shears, entry-level flat iron, steamer, and one can of strong spray — sits comfortably inside a hobby budget and lasts years with basic care. The expensive mistakes come from buying three sprays before practising a single spike, so put your money into the comb and shears first.

One Comment