Styling Cosplay Wigs: An Advanced Character Guide
I have styled a little over seventy cosplay wigs in nine years, from a five-dollar eBay bob to a hand-tied lace front I still cannot justify, and my honest answer to how to style cosplay wigs is unglamorous: heat the fiber, hold it in the shape you want, and let it cool completely before you touch it again. Everything else is logistics. Fiber tolerance decides your whole toolkit, so check those heat-resistant cosplay wig ratings before you plug in a flat iron.
Table of Content
What Does Styling a Cosplay Wig Mean?
Heat, Hold, and Cool-Down Explained
Styling synthetic hair is a three-beat loop: heat softens the fiber, tension holds it where you want it, and cooling locks the shape in place. Skip that third beat and the work evaporates. I keep a cheap kitchen timer on my stand and wait a full ninety seconds after steaming a section before I release the roller. Pull a curl early and it collapses into frizz before you reach the convention hall.
Once you accept that fiber only remembers the shape it cools in, every technique stops being mysterious and becomes a logistics question: what heats it, what holds it, and how long until it is cold. The stylists who publish shaping breakdowns at the Cosplay Hair Lab organize their whole method around that same cycle, which is why their tutorials survive contact with real wigs.

Why Synthetic Hair Behaves Like Plastic
Most cosplay wigs are kanekalon, Toyokalon, or a polyester blend, which means you are working with an extremely fine thermoplastic: it softens somewhere between 120 and 180 degrees Celsius depending on the blend, then re-hardens as it drops back to room temperature. That single fact explains why a curling iron leaves limp waves while rollers plus steam produce a curl that survives a full weekend.
The practical consequence is that heat tolerance varies wildly between fibers, so test a hidden weft at the nape before you commit a flat iron to the front of anything new. Ten seconds at low heat tells you more than any product page, and it prevents one careless pass from ruining a ninety-dollar character wig.
Which Wig Base Should You Style First?
Straight, Wavy, or Curly Bases
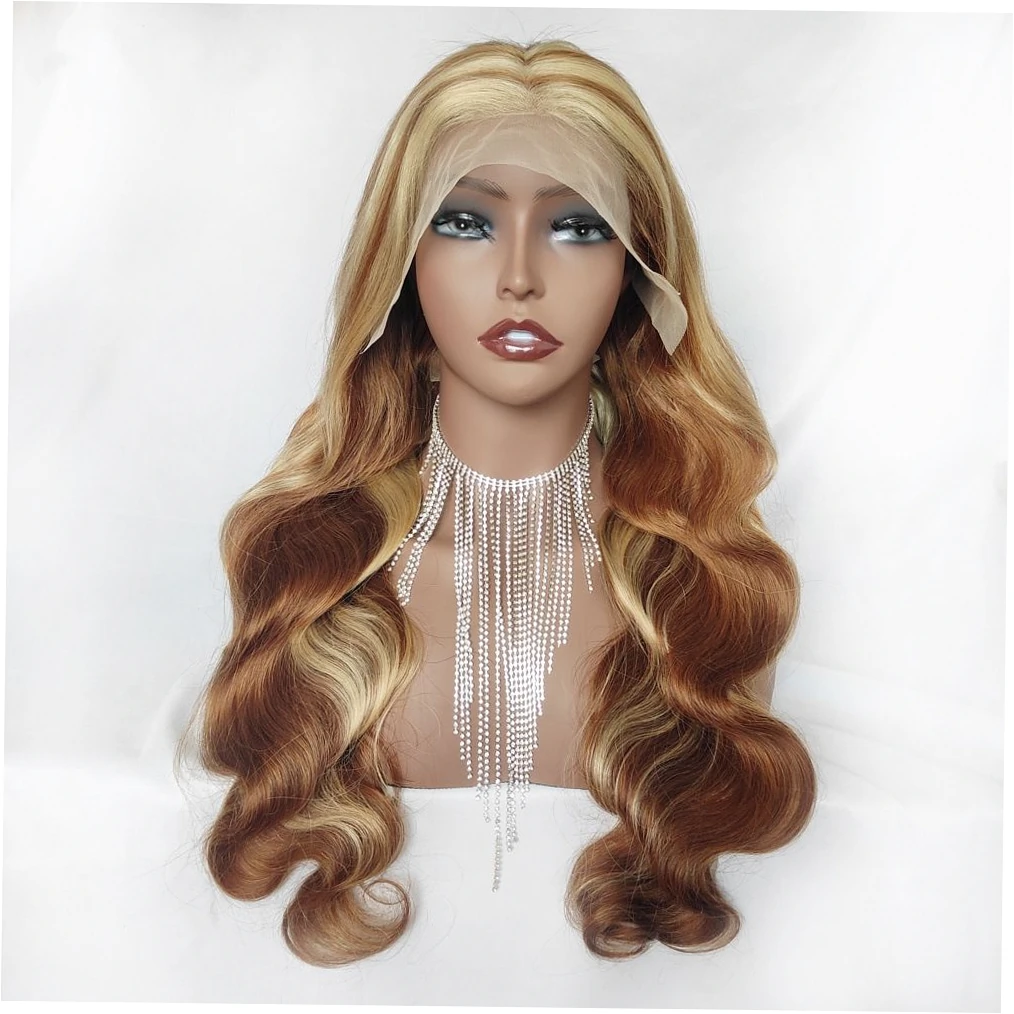
Straight wigs are the most forgiving canvas you can buy: smooth fiber takes heat evenly, cuts cleanly, and small mistakes steam back out. If your character has a graphic silhouette, blunt bangs, glass-straight lengths, a sharp A-line, start there and let the cut do the work. You spend your energy on shape instead of fighting texture you never wanted.
Curly wigs flip the workflow entirely. You are not building curl, you are protecting it, which means no brushing, no hot tools on set spirals, and a lot of gentle shaking. Choose a textured base only when the character is genuinely curly, because straightening a factory curl pattern back out rarely reads as natural at convention distance.
Short Bobs and Braided Styles
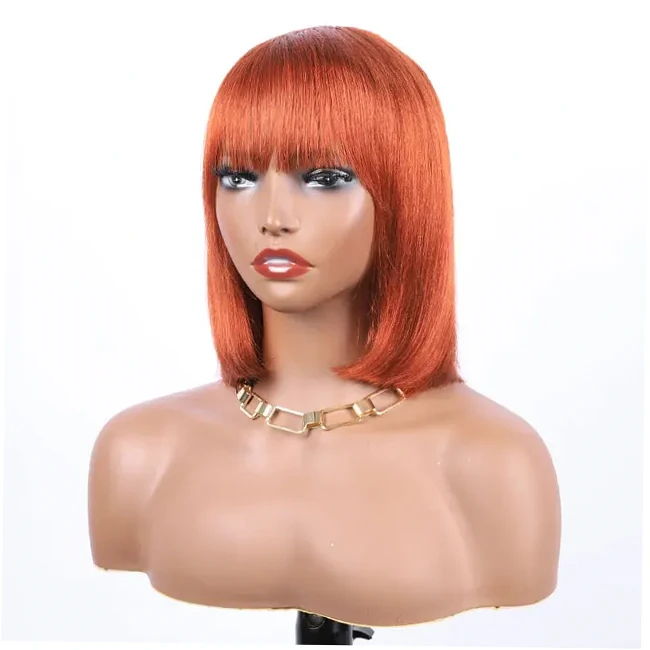
Chin-length bob wigs are the best training ground in this hobby precisely because they hide nothing: no long back to camouflage a lumpy weft line, no weight pulling the shape straight. Bangs, side parts, and temple shaping are all visible at once. That makes a bob the ideal first cutting project and the worst place to rush.
Braided characters form their own category. Knotless braid wigs hand you a believable braid base without eight hours in a chair, and the uniform parting photographs beautifully under stage lighting. From there you can add loose ends, charms, or a shaped fringe instead of braiding from scratch the night before an event.
Lace Front vs Glueless Caps
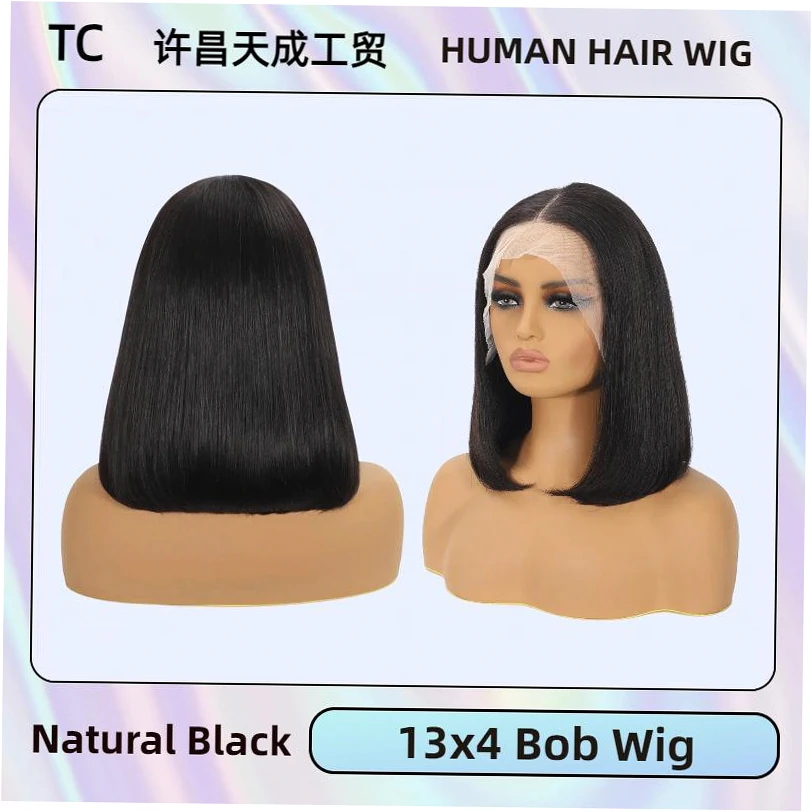
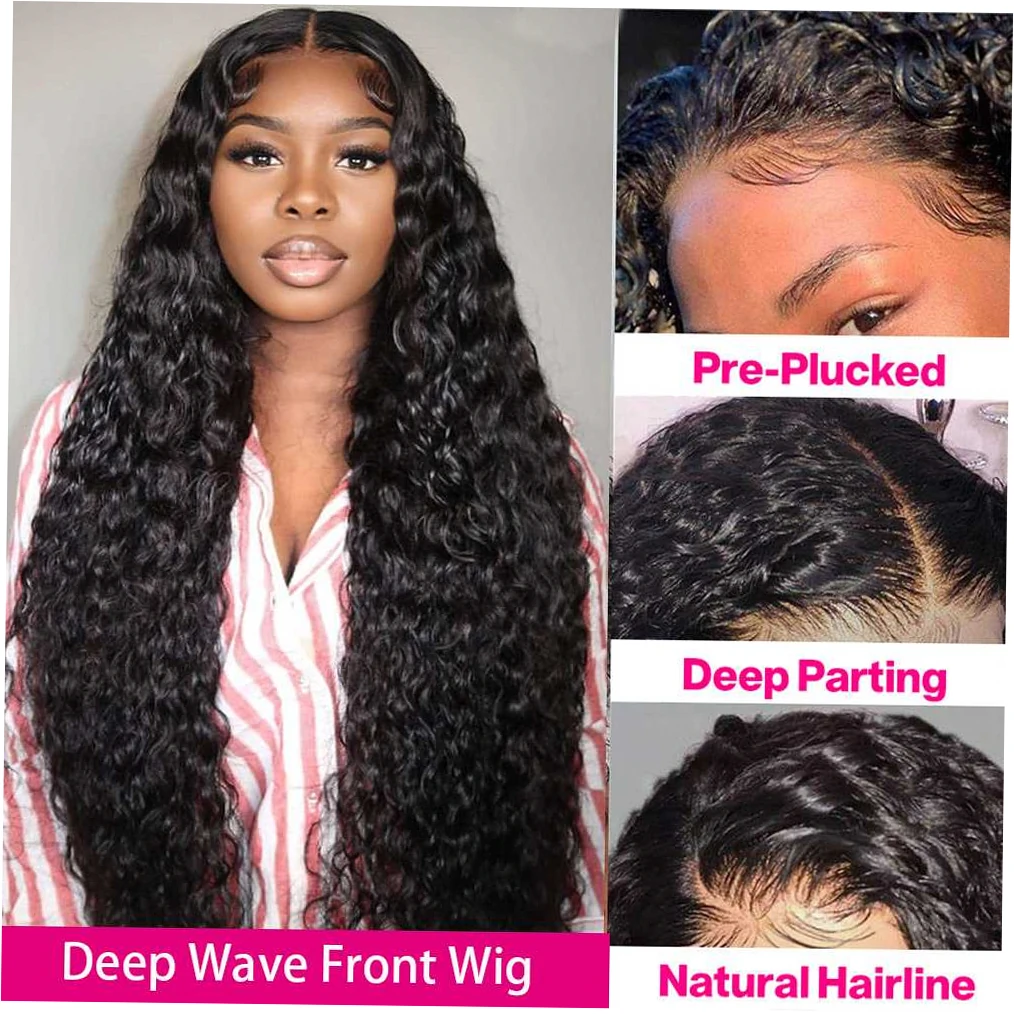
Glueless wigs rely on elastic bands, combs, or a pre-taped hairline, so they go on fast and treat your own edges kindly across a three-day event. If the character shows a hairline, though, you still need to pluck and blend the front, so budget a full hour of prep before the unit ever touches your head.
Styling glueless wigs also demands a different kind of patience, because no adhesive holds the unit steady while you work. Pin the cap firmly to your stand, work in small sections, and never steam an elastic band that is stretched tight, since it will cool into a permanent warp and sit crooked forever.

What Tools Do You Actually Need?
The Non-Negotiable Kit
You can technically style a wig with a hair dryer, a comb, and hairspray, but four purchases change the experience: a tripod stand, a garment steamer, a teasing comb, and sharp shears. I resisted the stand for two years and styled everything on a foam head clamped to a bookshelf. The week I switched, my arms stopped aching and my sections got noticeably cleaner.
Add sectioning clips, a wide-tooth comb for long styles, and a decent thinning shear once you start cutting spikes. Skip most wig-specific sprays, since a drugstore holding spray does the same job. Put that money into a steamer instead, because steam contributes more to shape retention than any product I have tested in nine years.
Where to Splurge and Where to Skip
My rule is simple: spend on anything that applies heat or cuts fiber, economize on everything consumable. A thirty-dollar steamer and twenty-five-dollar shears outlast three cheap replacements, while hairspray, foil, and setting spray get rebought every season. Here is roughly what sits on my bench now, with honest notes on what you can safely delay.
| Tool | Typical Cost | What It Actually Does | Can You Delay It? |
|---|---|---|---|
| Handheld garment steamer | USD 25 to 40 | Sets shape while fiber cools and relaxes frizz | No, it is the biggest single upgrade |
| Tripod wig stand | USD 20 to 35 | Holds the wig at eye level and frees both hands | Yes, but your arms will complain |
| Mini crimping iron | USD 15 to 25 | Adds bulk and grip before teasing | Yes, unless you want spikes |
| Thinning shears | USD 15 to 30 | Softens bulk and refines spike tips | No, once you start cutting |
| Holding spray | USD 6 to 10 | Locks finished shapes and reworks with steam | No |
| Wide-tooth comb | USD 4 to 8 | Detangles without pulling out crimp | No |
Before buying a single tool, work out what the character actually needs, because a bob and a spiked shonen lead require almost opposite kits. Reading a few character wig styling guides first saves you from buying a crimper you will use once, and from discovering on convention morning that you own no thinning shears.
How Do You Build Volume and Spikes?
Crimp First, Then Tease
Volume starts before you tease. Crimping a wig for cosplay adds bulk and friction to the fiber itself, so backcombing grips instead of sliding back down an hour later. I crimp the underlayers of nearly every gravity-defying style, then tease over the top, spray, and steam the whole section to lock it into place.
Order matters: crimp, tease, spray, cool. Reverse it and you get a crunchy shell over limp hair, and no product rescues that once the fiber sets. Wide crimp plates are faster on long wefts, while a mini crimper reaches the short nape sections that give pixie cuts their shape.
Spikes That Survive the Floor
A spike is just a section that has been heated, combed to a point, and held until cold, and humidity plus hugs destroy the lazy ones. I spray from twenty centimeters away, hit the spike with low dryer heat, then leave it alone for a minute. Spiking a cosplay wig without heat works with glue and patience, but the result reads softer and much heavier.
Translating a Reference Sheet
Anime hair ignores gravity, so the honest first question is how much you are willing to fake. A few silhouettes genuinely need wire, batting, and glued wefts, while most need crimping, strategic backcombing, and a lot of steam. Decide that before you cut, because the shape you must protect is almost always the bangs and the jawline.
Can You Dye a Synthetic Cosplay Wig?
What Color Work Can and Cannot Do
Synthetic fiber does not lift. You can go darker, add tone, or shift a color a shade or two, but you cannot turn a level-six brown into platinum, and a dye bath will not erase a factory gradient. Wig dyeing and color work is therefore a planning job: buy the closest base you can find, then adjust toward the reference.
Temperature is the other hard wall. Boiling water, a hot dye bath, or a hot iron relaxes heat-sensitive fiber permanently, so the wig goes straight and faintly crispy, and conditioner will not bring it back. Check the rated tolerance first and keep your bath comfortably below that number, even if it means a longer dwell time.
Acrylic Ink vs Rit Dye Blends
Acrylic ink dyeing gives you the most control on small jobs such as roots, tips, and gradients, because you can paint it on, blend the edge with alcohol, and stop precisely where you want to. Rit dye saturates a whole wig more evenly but is harder to reverse and tends to dull shine. Here is my comparison after ruining two wigs to learn it.
| Method | Best For | Evenness | Reversible | Fiber Risk |
|---|---|---|---|---|
| Acrylic ink plus alcohol blend | Roots, tips, gradients | Controlled and painterly | Partly, with alcohol | Low if fiber stays cool |
| Rit dye bath | Full color shifts on light bases | Even but dulls shine | No | High on heat-sensitive fiber |
| Alcohol markers | Small touch-ups and streaks | Streaky by design | No | Low |
| Temporary color spray | Test runs before an event | Patchy under lights | Yes, washes out | Very low |
Which Mistakes Kill a Wig Fastest?
Heat Damage and Melted Tips
The fastest way to destroy a wig is a flat iron on fiber that cannot take it. Melted tips look like tiny beads of plastic, and they do not comb out, so you cut them off, which shortens the style and throws off the silhouette you built. Test on a hidden weft, use the lowest effective heat, and keep the iron moving.
The second-fastest killer is over-brushing. Every pass of a fine-tooth comb through dry, styled fiber pulls out crimp and tease you spent an hour building, and the frizz it creates is effectively permanent. Once a shape is locked, handle it with fingers and a wide-tooth comb only.
Product Buildup and Fiber Fatigue
Hairspray is structural, but it also collects dust and forms a film that cracks whenever the fiber flexes. Washing a cosplay wig correctly, with cool water, mild detergent, no rubbing, and no wringing, resets the fiber without destroying the shape you still need. It is a five-minute job that buys months of extra wear.
Myths That Cost Beginners Money
Three beliefs do the most damage. First, that every wig must be restyled, when plenty of character units look fine straight out of the bag and a simple short style often needs nothing but a comb. Second, that styling products must be hair-safe, when some of the strongest holds come from cheap spray and clear glue. Third, that heat alone shapes fiber, when cooling does the shaping.
The most useful habit I picked up from other cosplayers is respecting cool-down time. Rollers beat curling irons for exactly that reason, because they hold fiber in shape while it cools, while an iron releases it hot and shapeless. The table below lines up what labels promise against what actually happens over a convention weekend.
| Claim You Will Read | What It Suggests | What Experienced Stylists Report |
|---|---|---|
| Heat resistant to 180 degrees | Safe at any iron setting | Tolerates brief contact but scorches with repeated passes, so always test a hidden weft |
| Use wig-safe products only | Human-hair products damage fiber | Cheap spray and clear glue often hold better, and gentle formulas frequently underperform |
| Every cosplay wig must be restyled | Out-of-box wigs always look wrong | Simple short character wigs often look fine after a comb and light steam |
| A curling iron creates curls | Heat alone sets the shape | Curls collapse unless fiber cools in shape, so rollers and steam beat irons |
| One tutorial fits every wig | A universal step order exists | Bangs, spikes, braids, and lace hairlines each change the required sequence |
Keeping a Styled Wig Convention-Ready
The Nightly Reset Routine
A styled wig does not need to be rebuilt, it needs to be reset. Each night, hang it on a stand, mist lightly, and comb only the sections that touched your neck or a chair back. Untangling cosplay wigs gently, working from the ends upward with a wide-tooth comb and a little leave-in spray, prevents small knots from becoming permanent mats.
If a spike droops, reheat just that section, reshape it, and let it cool undisturbed. Fighting a droopy spike with more spray builds a heavy, flaky layer that looks worse than the droop itself. Two minutes of targeted steam beats twenty minutes of product every single time.
Storage That Holds the Shape
Store long styles flat or loosely braided inside a breathable bag, never crushed in a suitcase under shoes. For spiked and sculpted wigs, stuff the interior with acid-free tissue so the shape has something to rest against, and keep everything out of direct sun, which fades synthetic color faster than most people expect.
Packing a Wig Case for Event Day
On event morning I pack three things beyond the wig itself: a mini spray bottle, a wide-tooth comb, and a small tub of the same holding spray I styled with. Mixing products on site is how you end up with white flake on black fiber at ten in the morning. Keep the wig bagged until you are ready.
If the silhouette is beyond your current toolkit and the event is next weekend, buying a pre-styled unit from the Wig Collective collection is not cheating, it is triage. Then spend the saved hours practicing on a cheap spare, because the skill compounds. That is how I went from glue-covered disasters to wigs I am still proud of.
FAQ About how to style cosplay wigs
Do I really need to style a cosplay wig, or can I wear it as it arrives?
Often you can wear it as it arrives. Character-specific wigs are usually pre-cut and pre-shaped, and a simple short style may only need a comb, a light steam, and a minute with a hair dryer. Style when the silhouette clearly misses the reference, not because a tutorial told you it is mandatory.
How do I style a cosplay wig without heat tools?
You can get surprisingly far with water, hairspray, pins, and patience. Dampen a section, comb it into shape, pin it firmly, and let it dry completely before releasing, since drying acts like cooling. For spikes, clear glue and a toothbrush handle add structure, though the result feels heavier and less sharp.
Is a cheap synthetic wig worth styling, or should I buy heat-resistant fiber?
It depends on the style. A short, low-heat character look justifies an inexpensive base, because you are mostly cutting and setting with steam. If you need repeated flat-iron work, tight curls, or sculptural spikes, heat-resistant fiber costs more up front but survives enough re-styling to pay for itself.
Why does my styled wig go frizzy the same day?
Usually because the fiber was released before it cooled, or because a fine-tooth comb pulled the set out. Frizz also comes from product buildup and friction against shoulders and bag straps. Re-steam, reshape, cool fully, and switch to a wide-tooth comb for the rest of the event.
Can I use regular human-hair products on synthetic cosplay wigs?
Yes, and many stylists prefer them. Strong-hold sprays, gels, and pomades work on synthetic fiber, though heavy oils can leave a dull film that attracts dust. Test on a hidden weft, avoid anything that needs heat activation beyond the fiber rating, and wash buildup out before it hardens.
How long does a full character wig styling take for a beginner?
Plan three to six hours for a first attempt at a medium-complexity style, plus an hour of prep like plucking, fitting, and trimming bangs. Experienced hands cut that in half. Budget extra time for spikes or braided structures, and never schedule a first attempt for the night before an event.
What is different about styling short versus long cosplay wigs?
Short wigs are about structure and edge control, so thinning, crimping, and precise bang work matter most. Long wigs are about weight and movement, so detangling, gentle layering, and avoiding heat on the ends dominate. Long styles also need more storage planning, since gravity flattens shapes that a stand would hold.